

Commercial Real Estate
Retail Property Drone Photography: Show the Customer Approach
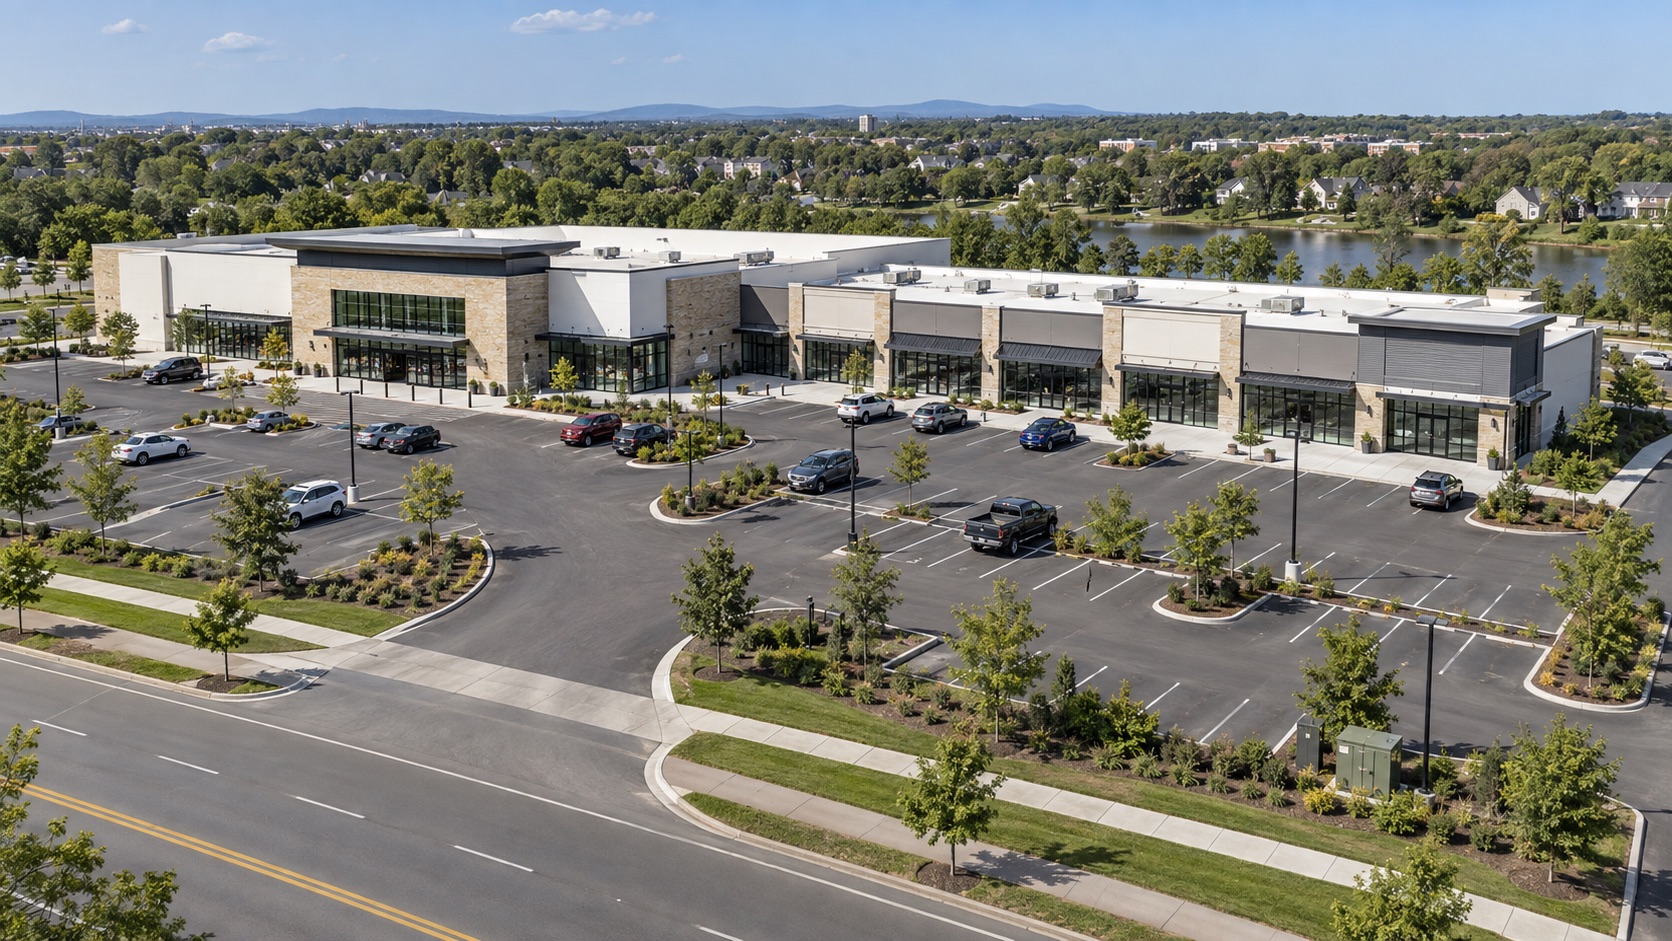
A prospective tenant opens a shopping-center brochure. The buildings look sharp, the parking field is immaculate, and the afternoon light is beautiful. Yet one practical question remains: how does a customer get from the road to this particular storefront?
Retail property drone photography becomes more useful when the answer is visible. A strong aerial presentation connects the center, its entrances, the available space, and the places customers move through. It gives a leasing conversation a shared starting point before anyone schedules a tour.
For brokerage marketing teams, this suggests a clear editorial task: organize the imagery around the customer’s approach. The result should feel like a guided introduction to the property, with enough context to make the next questions more specific.
Start with the journey the tenant needs to understand
Retail formats create different arrival stories. A neighborhood service tenant may care about convenient parking near its entrance. A restaurant prospect may want to understand the relationship between its frontage, outdoor area, and adjoining shops. An outparcel requires a clear explanation of how it relates to the larger center.
Before commissioning imagery, identify the intended audience and available premises. Then write one sentence describing what the presentation must explain. For example: “Show how a first-time visitor approaching from the main road finds the eastern entrance, parks, and reaches the available endcap.”
This is a hypothetical brief, but its specificity matters. It lets the property team assess the proposed views against a business question. It also gives the photographer something more useful than an instruction to make the center look attractive.
Make the road-to-storefront connection visible
Begin the visual story with a view that keeps the subject property prominent while including the relevant road frontage. Follow it with a closer perspective connecting the entrance, internal drive, and storefront. These images should help readers orient themselves without constantly turning back to a map.
Consider a center with several driveways. A wide photograph may establish the overall layout, while a closer angle explains which entrance leads toward the marketed space. If a landscaped island or neighboring building hides part of that relationship, another perspective may be more informative than a higher flight.
Confirm street and entrance labels with the property team before adding them. Use aerials to explain visible geometry, then support operating details with verified information. A photograph cannot establish permitted turning movements or how access performs during a busy period.
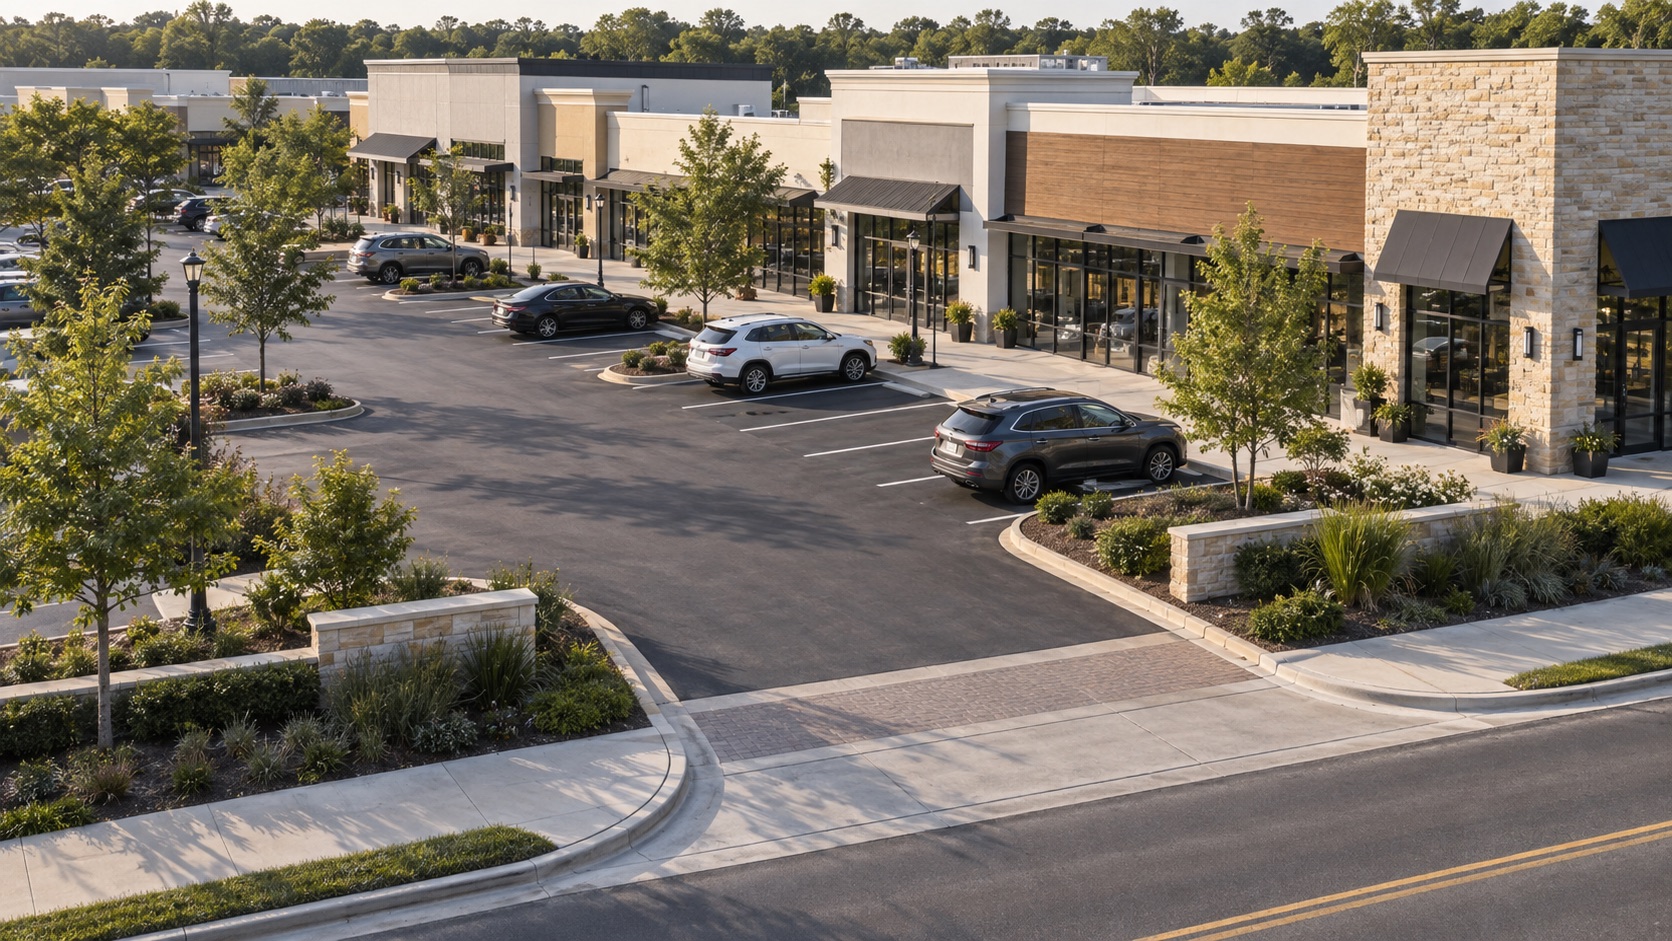
Bring the parking field down to a useful scale
A photograph showing hundreds of parked cars may communicate size while revealing little about arrival at a specific suite. Move the story closer. Show the storefront, nearby parking rows, visible walkways, and the connection between them.
The aim is to help a prospect understand the setting they will encounter on a tour. Are entrances grouped along a continuous frontage? Does landscaping separate the parking area from the shops? Where does an obvious pedestrian path meet the building?
Ask the site contact which areas are shared and which serve a specific use. Keep any claims about parking allocation separate from visual interpretation. Capture conditions honestly: an unusually empty lot or a temporary event should not quietly become the campaign’s evidence of everyday customer activity.
Where customer circulation and servicing meet, include enough context to distinguish their roles. A rear delivery area may matter to a restaurant prospect even though it is absent from the main brochure cover. Put that supporting view where it answers an operational question, with a caption identifying the area and its relationship to the storefront.
Give neighboring uses context
Retail space is experienced in relation to what surrounds it. A prospective tenant may need to see the position of an anchor, an adjacent restaurant row, or an outparcel that interrupts the view from the road. One considered context image can explain those relationships better than several nearly identical building portraits.
The broader evaluation still needs other evidence. CBRE’s retail services describe location work that combines research, local knowledge, and analysis of the tenant mix. The aerial contribution is narrower and valuable: it makes the physical setting understandable.
Identify neighboring businesses only after checking that the information is current. Show their relative position without promising that their customers will become the prospective tenant’s customers. Keep the original image available when creating labeled versions so the marketing team can update names without rebuilding the presentation.
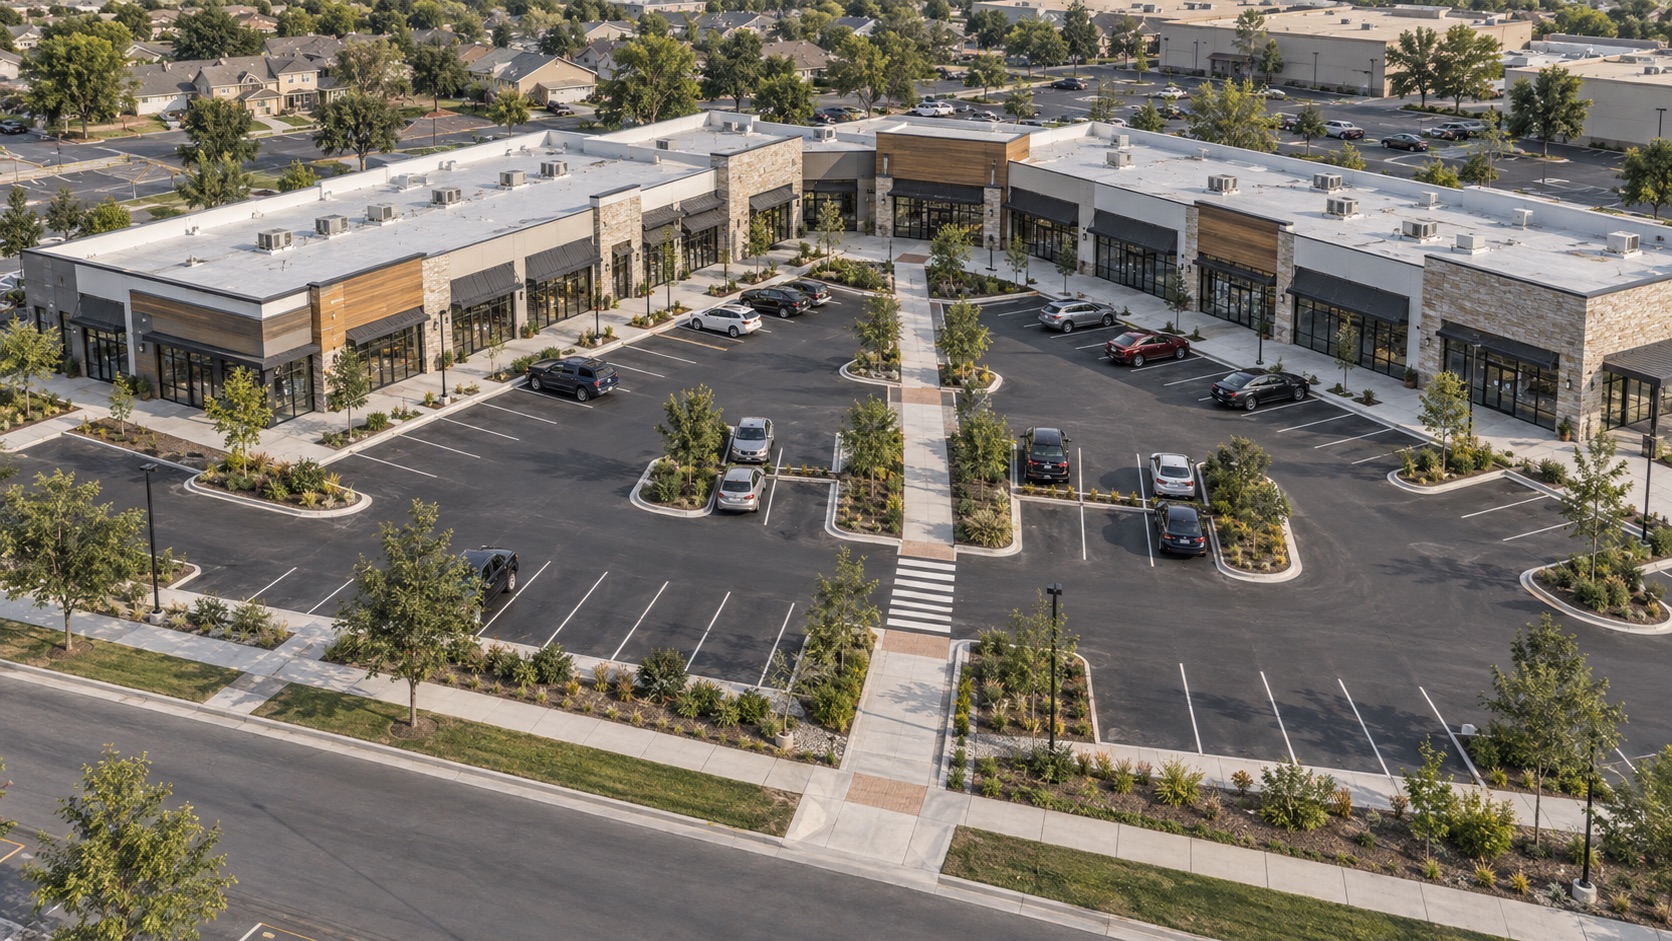
Match the perspective to the question
An elevated angle can reveal a layout that is difficult to understand from the pavement. It does not reproduce what a driver or pedestrian sees. When storefront visibility is central to the assignment, consider pairing the aerial with separately scoped ground photography.
The Retail Strategy’s site-selection guide places physical observation alongside location data when assessing individual sites. That is a useful discipline for marketing: select the medium that can show the relevant relationship, then make its purpose clear.
For example, use the aerial to connect the entrance and endcap. Use a ground image to show the storefront from an appropriate public viewpoint. Use a verified plan to identify the available premises. Together, these materials support a more informed conversation without asking one photograph to answer everything.
Turn the idea into a brief the whole team can use
Keep the assignment short enough that the broker, property contact, and capture team can work from the same page. A practical brief can read like this:
Marketing objective: Introduce a hypothetical endcap opportunity to prospective neighborhood retail tenants.
Story to explain: Connect the main road, eastern entrance, nearby parking, and storefront, then establish the space’s position within the center.
Property information: Supply the address, approved plan, available premises, current tenant labels, site contact, and relevant operating schedule.
Capture priorities: Request an orienting overview, a closer arrival sequence, and a complementary context view. Ask the provider to recommend feasible perspectives rather than prescribing a flight path.
Delivery purpose: Identify the brochure, listing page, and presentation formats. Allow space around the subject for cropping and text, while preserving clean original files.
Final selection: Choose images that contribute different information. A compact, deliberate sequence gives each frame a reason to be there.
Before launch, use a commercial drone quality-control checklist to review the delivered files. Confirm that labels match approved information, images belong to the right property, and the intended customer approach remains clear after layout and cropping.
Build a presentation people can follow
The best sequence can be understood in a quick scan and rewards a closer look. Place the broad view first, bring the reader toward the available space, and use context where it resolves a question. Keep captions brief and specific. They should explain what the image contributes, not repeat the property’s sales language.
Review the sequence with someone unfamiliar with the center. Ask them to identify the marketed space and describe the apparent arrival route. Their hesitation can reveal a missing connection before the brochure reaches prospective tenants, while there is still time to improve the presentation.
Up Sonder’s commercial aerial packages provide photography and video options with coordinated planning and delivery. Bring the property address, campaign deadline, and customer approach you need to explain. Share your project with Up Sonder to plan a clear visual introduction to your next retail listing.